


March 24, 2022
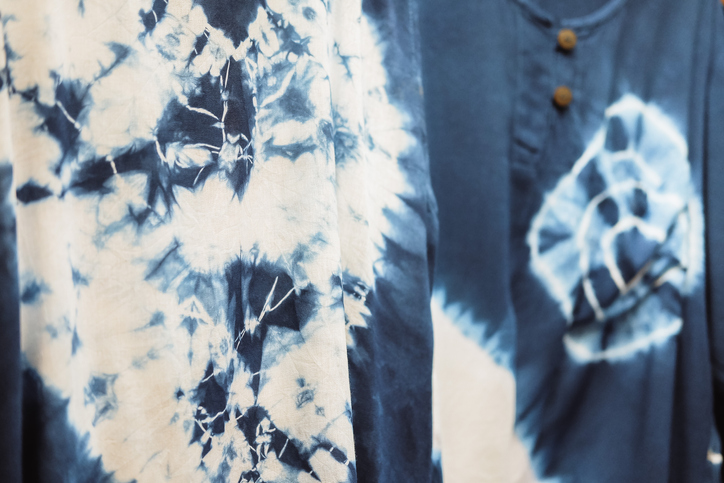
Turning an old piece of clothing into a new work of art is the perfect way to save money and update your wardrobe … and even help the environment at the same time! But what can you do to transform jeans, tees, sweatshirts and other pieces of clothing without spending oodles at the craft store? The answer is simple: bleach art.
As you know, bleach removes the color from clothing, which is why you have to be so careful with it around your clothes. Here, though, it’s an addition. Bleach art relies on gently spraying bleach around a pattern or stencil to create a design. It especially works well on jeans and black clothing, leaching out the original color but leaving the place covered by your stencil intact.
If you’ve recently picked up some new items from Goodwill Industries of Monocacy Valley and are looking to jazz them up, here are some of our favorite cute bleach shirt ideas.
One of the best things about bleach art is you can make it just using the items you have at home. Here’s what you need: A stencil for your pattern. You can print out premade stencils on vinyl if you or a friend has a cutting machine from Cricut or Silhouette. If not, you can also just cut out patterns using an old transparency or report cover. Simply take a printed image, tape a transparency over it, and use an X-Acto knife to cut the pattern out of the transparency.
The first thing you need to do is prepare your work surface to avoid getting bleach on anything important. Clean off a table or desk, then spread plastic or old towels over it on which to work. Lay down your clothing item, then insert the cardboard underneath the top to protect the back from bleach. Now you will only get bleach on the part of clothing you want.
Carefully lay down your stencil. If you are a crafter, you may have spray adhesive at home. It binds the stencil to the shirt temporarily, but will release it and wash out afterward. If you do not have adhesive, like most people, simply use straight or safety pins to fix it in place. Make sure to pin it as closely around the edges as you can to avoid bleach getting under it.
Once your stencil is secured, mix the bleach in your spray bottle. Pour about a quarter cup into the bottle, then fill the rest of the way with water. This truly is enough to get the job done, so don’t overdo it. That could ruin your design. Shake the bottle gently to mix the bleach all the way through.
Give your design a few gentle sprays from the bottle on the mistiest setting. At Goodwill, we recommend testing your bleach spray mist on a swatch of cardboard first to ensure it’s on the correct setting. Once it is ready, go ahead and spray the shirt or jeans. Make sure to hit all the outlines of your stencil, then blot up any pooling bleach with old rags or paper towels. Otherwise, they will spread and ruin the gentle misting effect. Wait several minutes for the bleach to develop its color, and if you need to, spray again.
When you are satisfied with your design, hang it to dry. If you see bleach crystals develop on the outside, toss the shirt in the dryer to get rid of them. Wash the shirt on its own the first time around – along with any towels you might have used – to ensure you don’t stain any other clothing. Voilà!
Now that you know how it’s done, here are some of our favorite bleach shirt motifs.
Tie dye involves adding dye to a light-colored shirt to darken it. Reverse tie dye relies on bleach to remove color from darker clothing, but you use the same principles. Tie up the clothing item and secure with rubber bands, then gently mist the parts of it you want to bleach out.
If you’re not one for stencils, try a galaxy! Put down small circles to represent planets (bottle caps with flat edges would work well) and mist around them. Leave some parts fully colored to represent the blackness of space, and mist more thickly in others for star clusters.
Flowers and plants always make for lovely motifs. You can use a complex stencil or just a single large daisy or tulip to equally wonderful effect.
Animals are a great addition, especially for kids and babies. Cute alligators, elephants and lions always do the trick with the little ones. If you’re older, a roaring tiger or graphic zebra is always fun too.
Now you can turn your favorite quote into bleach art! Make sure to choose one that’s 10 words or less, especially if you don’t have a cutting machine. That’s a lot of words to chip out with an X-Acto knife, after all.
Want to make your own brand labels? No problem. This is a cute way to update your favorite brand with a look you love. Just be aware that you cannot sell these shirts, as it would be copyright infringement.
Love a band? Want to replicate their logo? Now you can! Again, note that as with brand labels, you cannot sell these shirts without facing trouble.
Dizzying tribal patterns are always a win for tattoos, so why not for shirts and jeans? You will most likely need a pre-made stencil for this, however, as cutting it out may prove too lofty a challenge.
If you’re feeling patriotic, a stars and stripes motif is always a good choice. You don’t have to use all 50 stars and 13 stripes for people to get the idea. You can, of course, but you can also stick with just a few of each to achieve the same effect.
Rainbows, unicorns, ice cream cones and other cute motifs are all the rage, especially for the younger crowd. This is a great approach to take if you’re doing the project with children or tweens, but is also cute for the young-at-heart.
Now that you have ten amazing DIY sweatshirt design ideas, you’ve got weekend projects for the next year! If you need jeans, shirts or even hats, we strongly recommend Goodwill as your source.
Not only can you get clothing for a great deal, but donating or shopping at Goodwill Industries of Monocacy Valley helps to support our no-cost career services, which are available to anyone who wants to receive the career development, training, and educational resources they need to secure meaningful employment. We can’t thank you enough for supporting our cause – and getting a great wardrobe out of it at the same time!
May 28, 2020
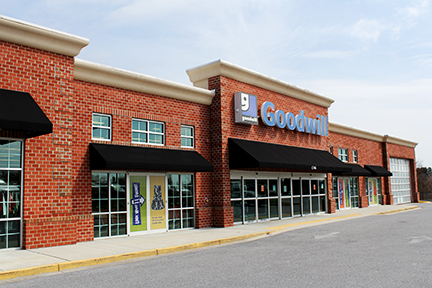
UPDATED MAY 28: All Goodwill Industries of Monocacy Valley Retail Stores and Donation Centers are open. New store hours are 10am-6pm daily at all locations with 50% reduced capacity allowed […]
August 29, 2012
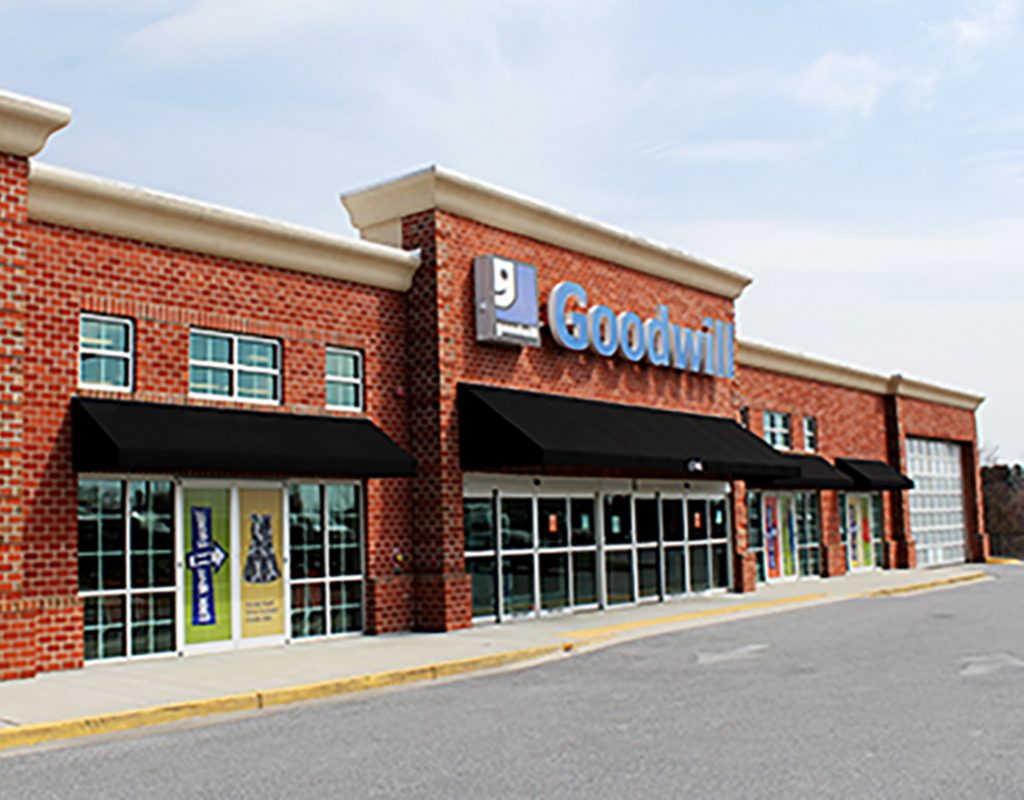
Westminster, MD– Goodwill announces the grand re-opening of its Westminster Retail Store & Donation Center. Goodwill is excited to announce the grand re-opening of its newly remodeled Westminster Retail Store […]